Senra Jamie Workflow: Blender 5, Avastar 4, and Marvelous Designer (Second Life)
I’ve been wanting to get back into making things for Second Life, and Avastar has always been my preferred tool for skinning clothing in Blender. Even though I could keep skinning clothing in Blender 3.6, most of my other 3D work had already moved into the newer Blender versions. That meant juggling workflows, so instead, I started quietly following the Avastar 4 Discord chats and piecing together an updated pipeline.
The good news: it works. I’ve now updated the Senra Jamie avatars and successfully uploaded a rigged clothing item into Second Life using Blender 5.x and the latest Avastar 4.x.
I’m sharing the steps below for any creator who wants to make clothing for one of the most accessible mesh bodies in Second Life. Not everyone wears Senra Jamie, but everyone has one, so creating for it gives you reach across the entire grid.
PART A — Create the Senra Jamie Blender Starter File
The goal of Part A is to prepare a clean, stable Senra Jamie avatar file in Blender and export it as an OBJ for Marvelous Designer. Once complete, you will not need to repeat this process unless an updated Senra avatar is released.
1. Open and Save the Base File
- Launch Blender 5.x, with Avastar 4.x installed
- Open
Senra Jamie Body v1.0 Blender 3.blend - File → Save As →
Senra_Jamie_Starter.blend
2. Update the armature and configure the rig
- Select the armature
- Avastar → Tool Box → Update Armature
- Armature Properties → Pose Position
- N-Panel → Avastar → Posing → Use Bind Pose
3. Set the A-Pose for Marvelous Designer
- Switch to Pose Mode
- Enable X-Mirror
- Select one upper arm
- Rotate downward: R → X → 30 → Enter
4. Save the Updated Template
- File → Save As →
Senra_Jamie_Starter_Apose.blend
5. Export the Senra Jamie OBJ
- Select the body mesh
- File → Export → Wavefront (.obj)
Export Settings
- Selection Only
- Normals
- UVs
- Apply Modifiers
- Forward: –Z
- Up: Y
- Scale 1.00
- Export as
senra_jamie_Apose.obj
PART B — Create the Senra Avatar in Marvelous Designer and Build the Garment
Part B uses Marvelous Designer exclusively. You will import the Senra OBJ, save it as a permanent avatar, and create your garment.
1. Import the Senra OBJ
- Avatar → Add Avatar (OBJ)
- Load as Avatar
- Thin
- Auto-Fit Off
- Scale 100%
2. Save Senra as a Permanent Marvelous Designer Avatar
- File → Save As → Avatar
Save to Marvelous Designer → Avatars → Female
Name:Senra_Jamie_Apose
3. Load the Saved Avatar
- Avatar → Female → Senra_Jamie_Apose
4. Draft and Sew the Garment
- Create patterns
- Sew seams
- Simulate
5. Set Mesh Type to Quads
- Property Editor → Mesh Type → Quad Mesh
- Or right-click → Convert to Quad Mesh
6. Set Particle Distance
- Property Editor → Particle Distance
- Simulate
7. Clean the Garment
- Delete internal lines
- Arrange UV islands in the 0–1 tile
- Set Thickness = 0
8. Export the Garment OBJ for Blender
- File → Export → OBJ (Selected)
OBJ Settings
- Scale 1.0
- Select All Patterns
- Thin
- Weld Off
- Single Object
- Unified UV Coordinates
- Normals
- Auto Smooth
- Quad Mesh
- Export as
garment_LOD0.obj
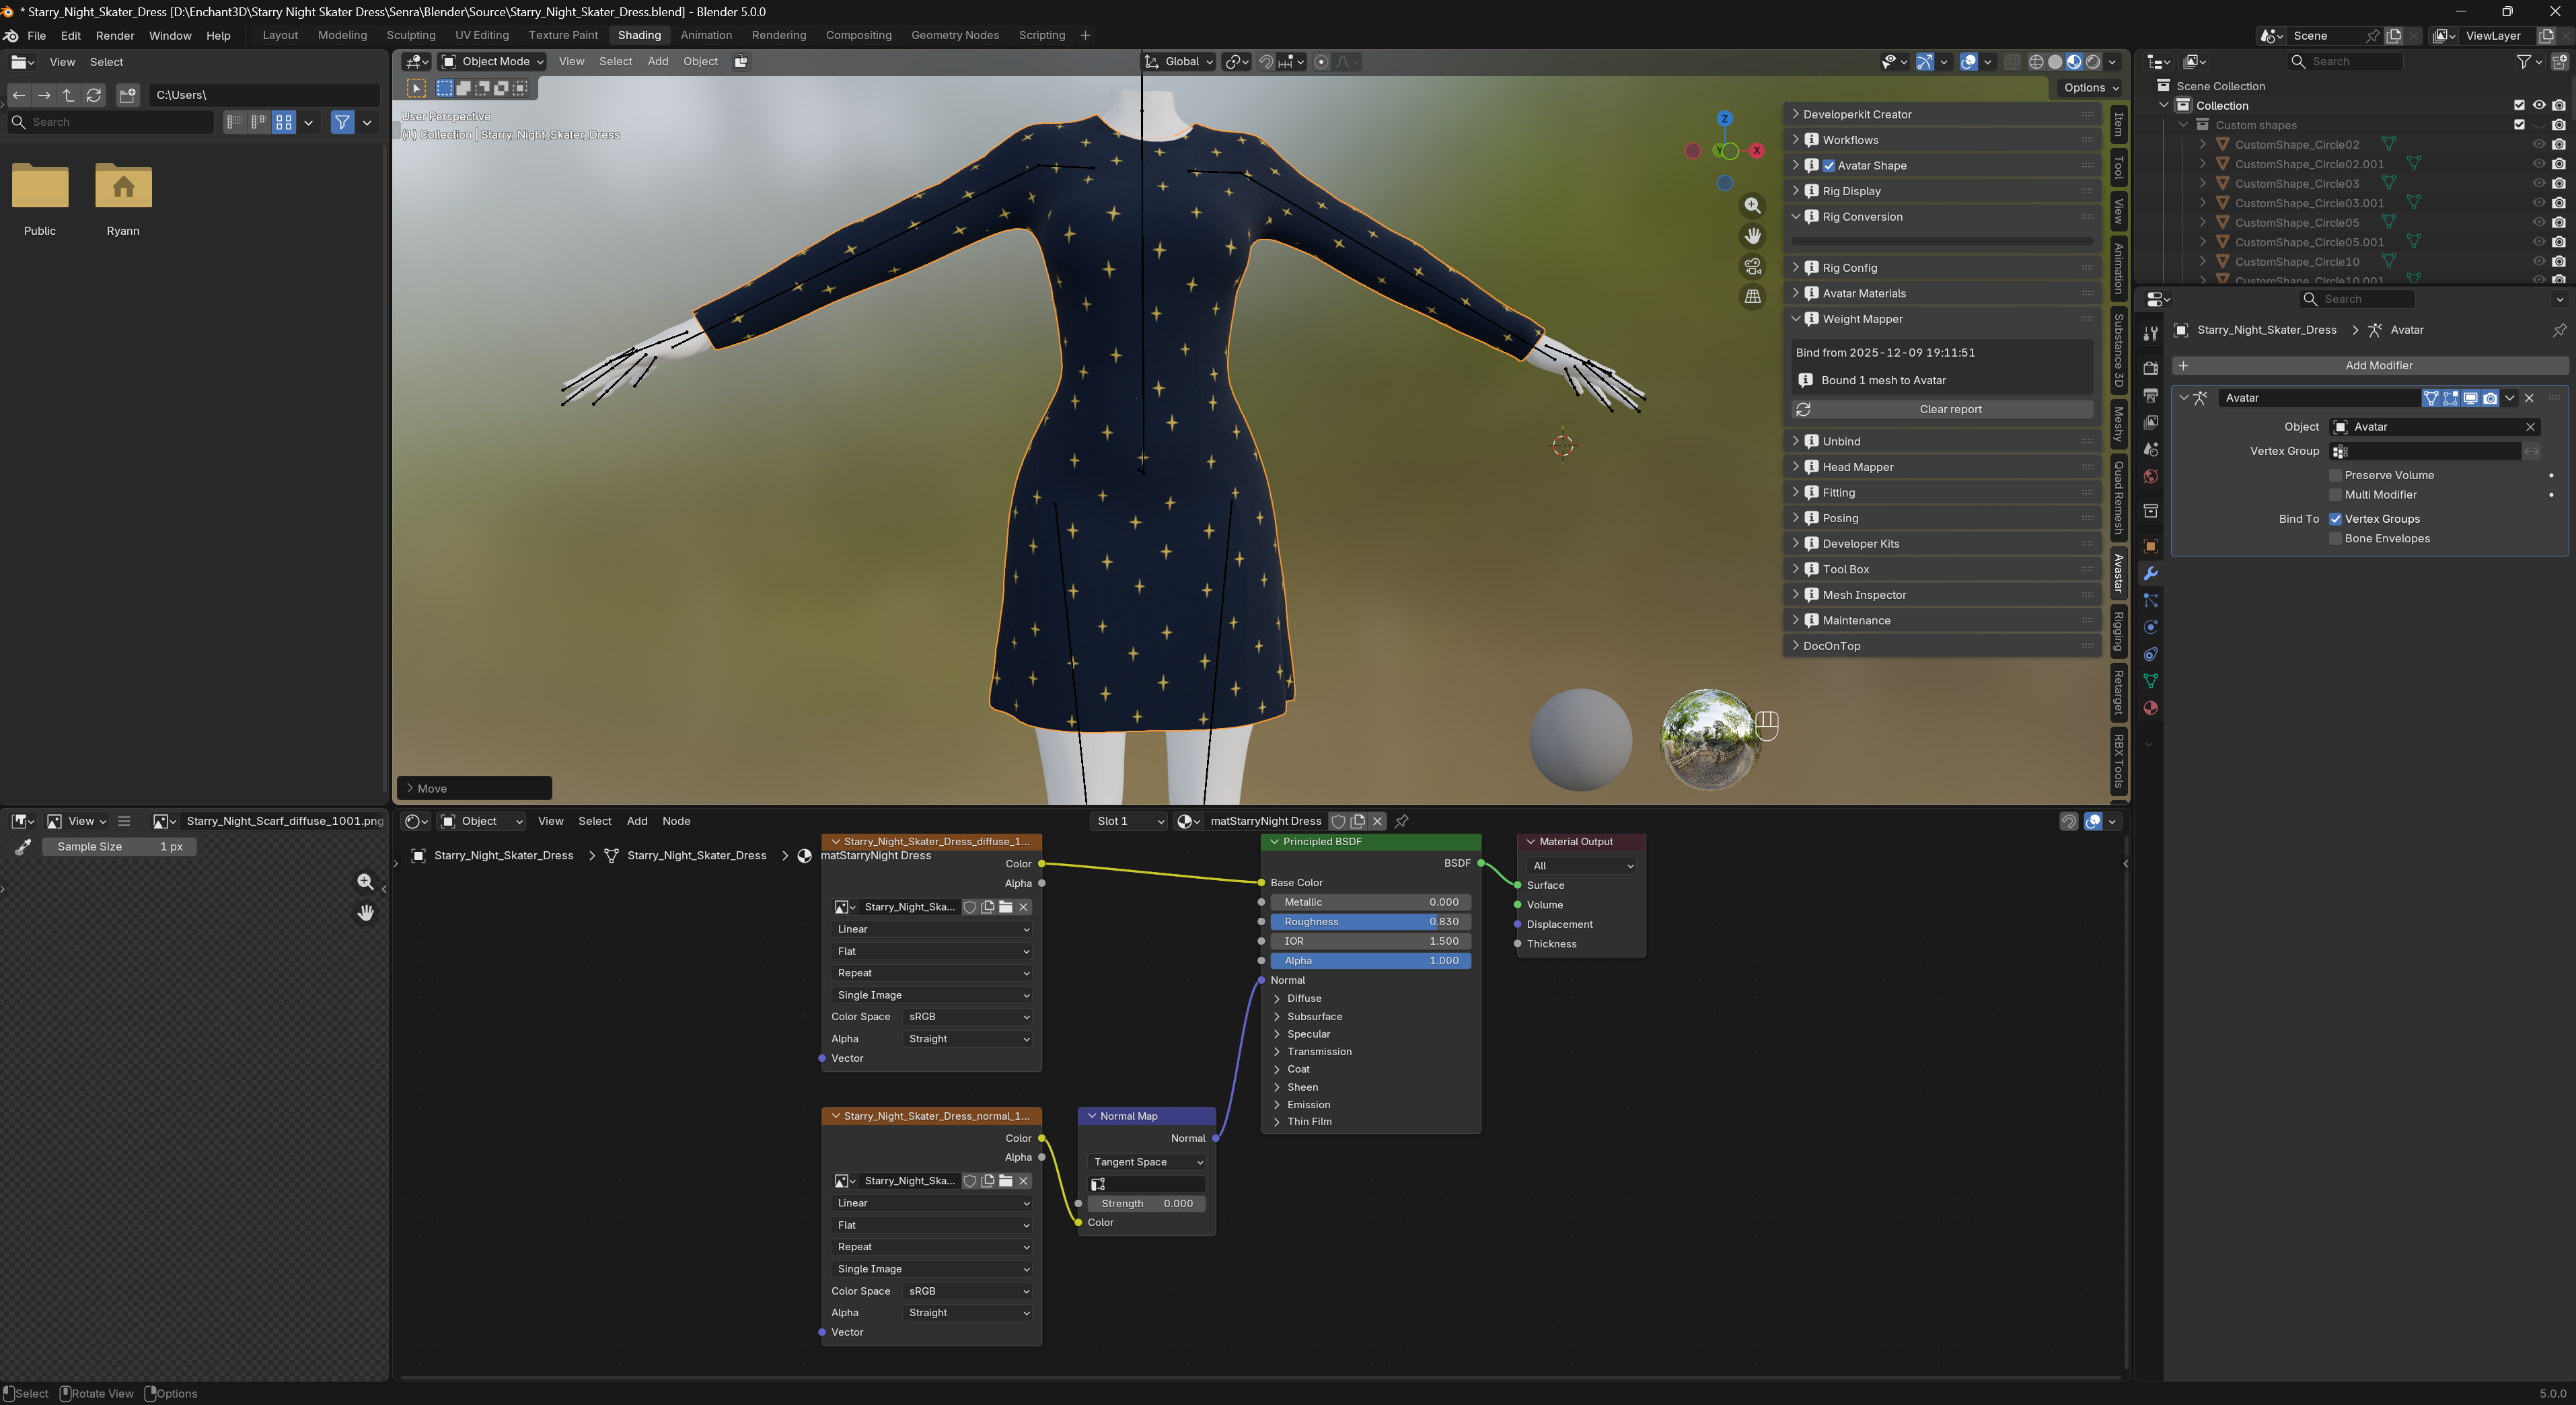
PART C — Rig and Export the Garment in Blender
This section returns to Blender to rig the garment using Avastar and prepare the final mesh for Second Life.
1. Import the Garment
- File → Import → OBJ
- Select garment → Ctrl+A → Rotation & Scale
2. Set Bindpose
- N-Panel → Avastar → Rig Modify Tools → As Bindpose
3. Parent to the Armature
- Select garment → Shift-select armature
- Ctrl+P → Armature Deform → Empty Groups
4. Configure Avastar
- N-Panel → Avastar → Rig Display → Deform Bones
- N-Panel → Avastar → Rig Display → Volume Bones
- Armature → Pose Position
- N-Panel → Avastar → Posing → Use Bind Pose
5. Weight Mapper (Copy Weights)Select the source mesh (Copy From)
- Avastar → Weight Mapper
- Select the source mesh (Copy From)
- Shift-select the garment (Copy To)
- Copy Weightmaps
6. Clean Up Weights
- Weights → Normalize All
- Weights → Limit Total (4)
- Weights → Clean
- Weights → Smooth
7. Pose Test
- Pose Mode → Move shoulders, elbows, hips, knees
Adjust weights as needed
8. Export the Garment to .DAE
- Select garment and armature
- File → Export → Avastar Exporter (.dae/glb)
Required Export Settings
- Apply Modifiers
- Apply Armature Scale
- Export SL Rotation
- Triangulate
- Only Weighted
- Only Deform
- Export With Joints
- Use Bind Pose
- Export
9. Import to Second Life
9.1 Upload the Model
- Build → Upload → Model
- Select your exported
.dae
Enable:
- Include Skin Weights
Optional:
- Include Textures
9.5 Check Land Impact
- Review streaming cost
- Adjust LODs if needed
9.6 Finalize and Upload
- Upload
- Rez the item in-world
- Wear or attach
- Test rigging and deformations