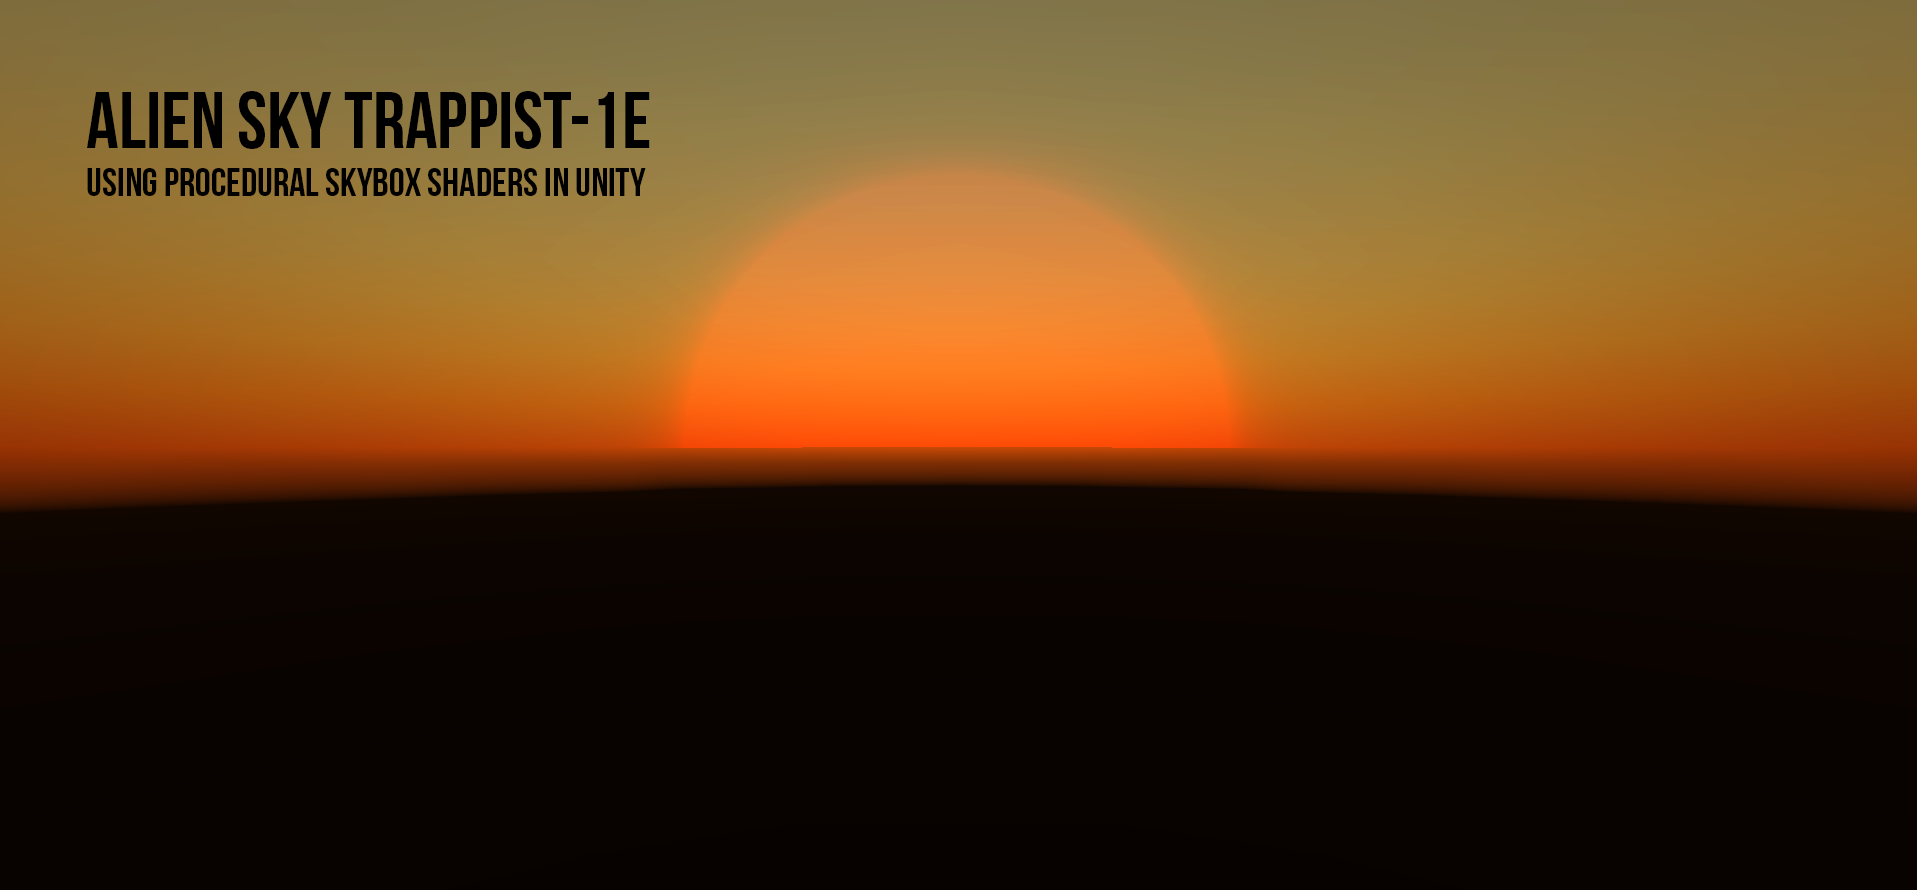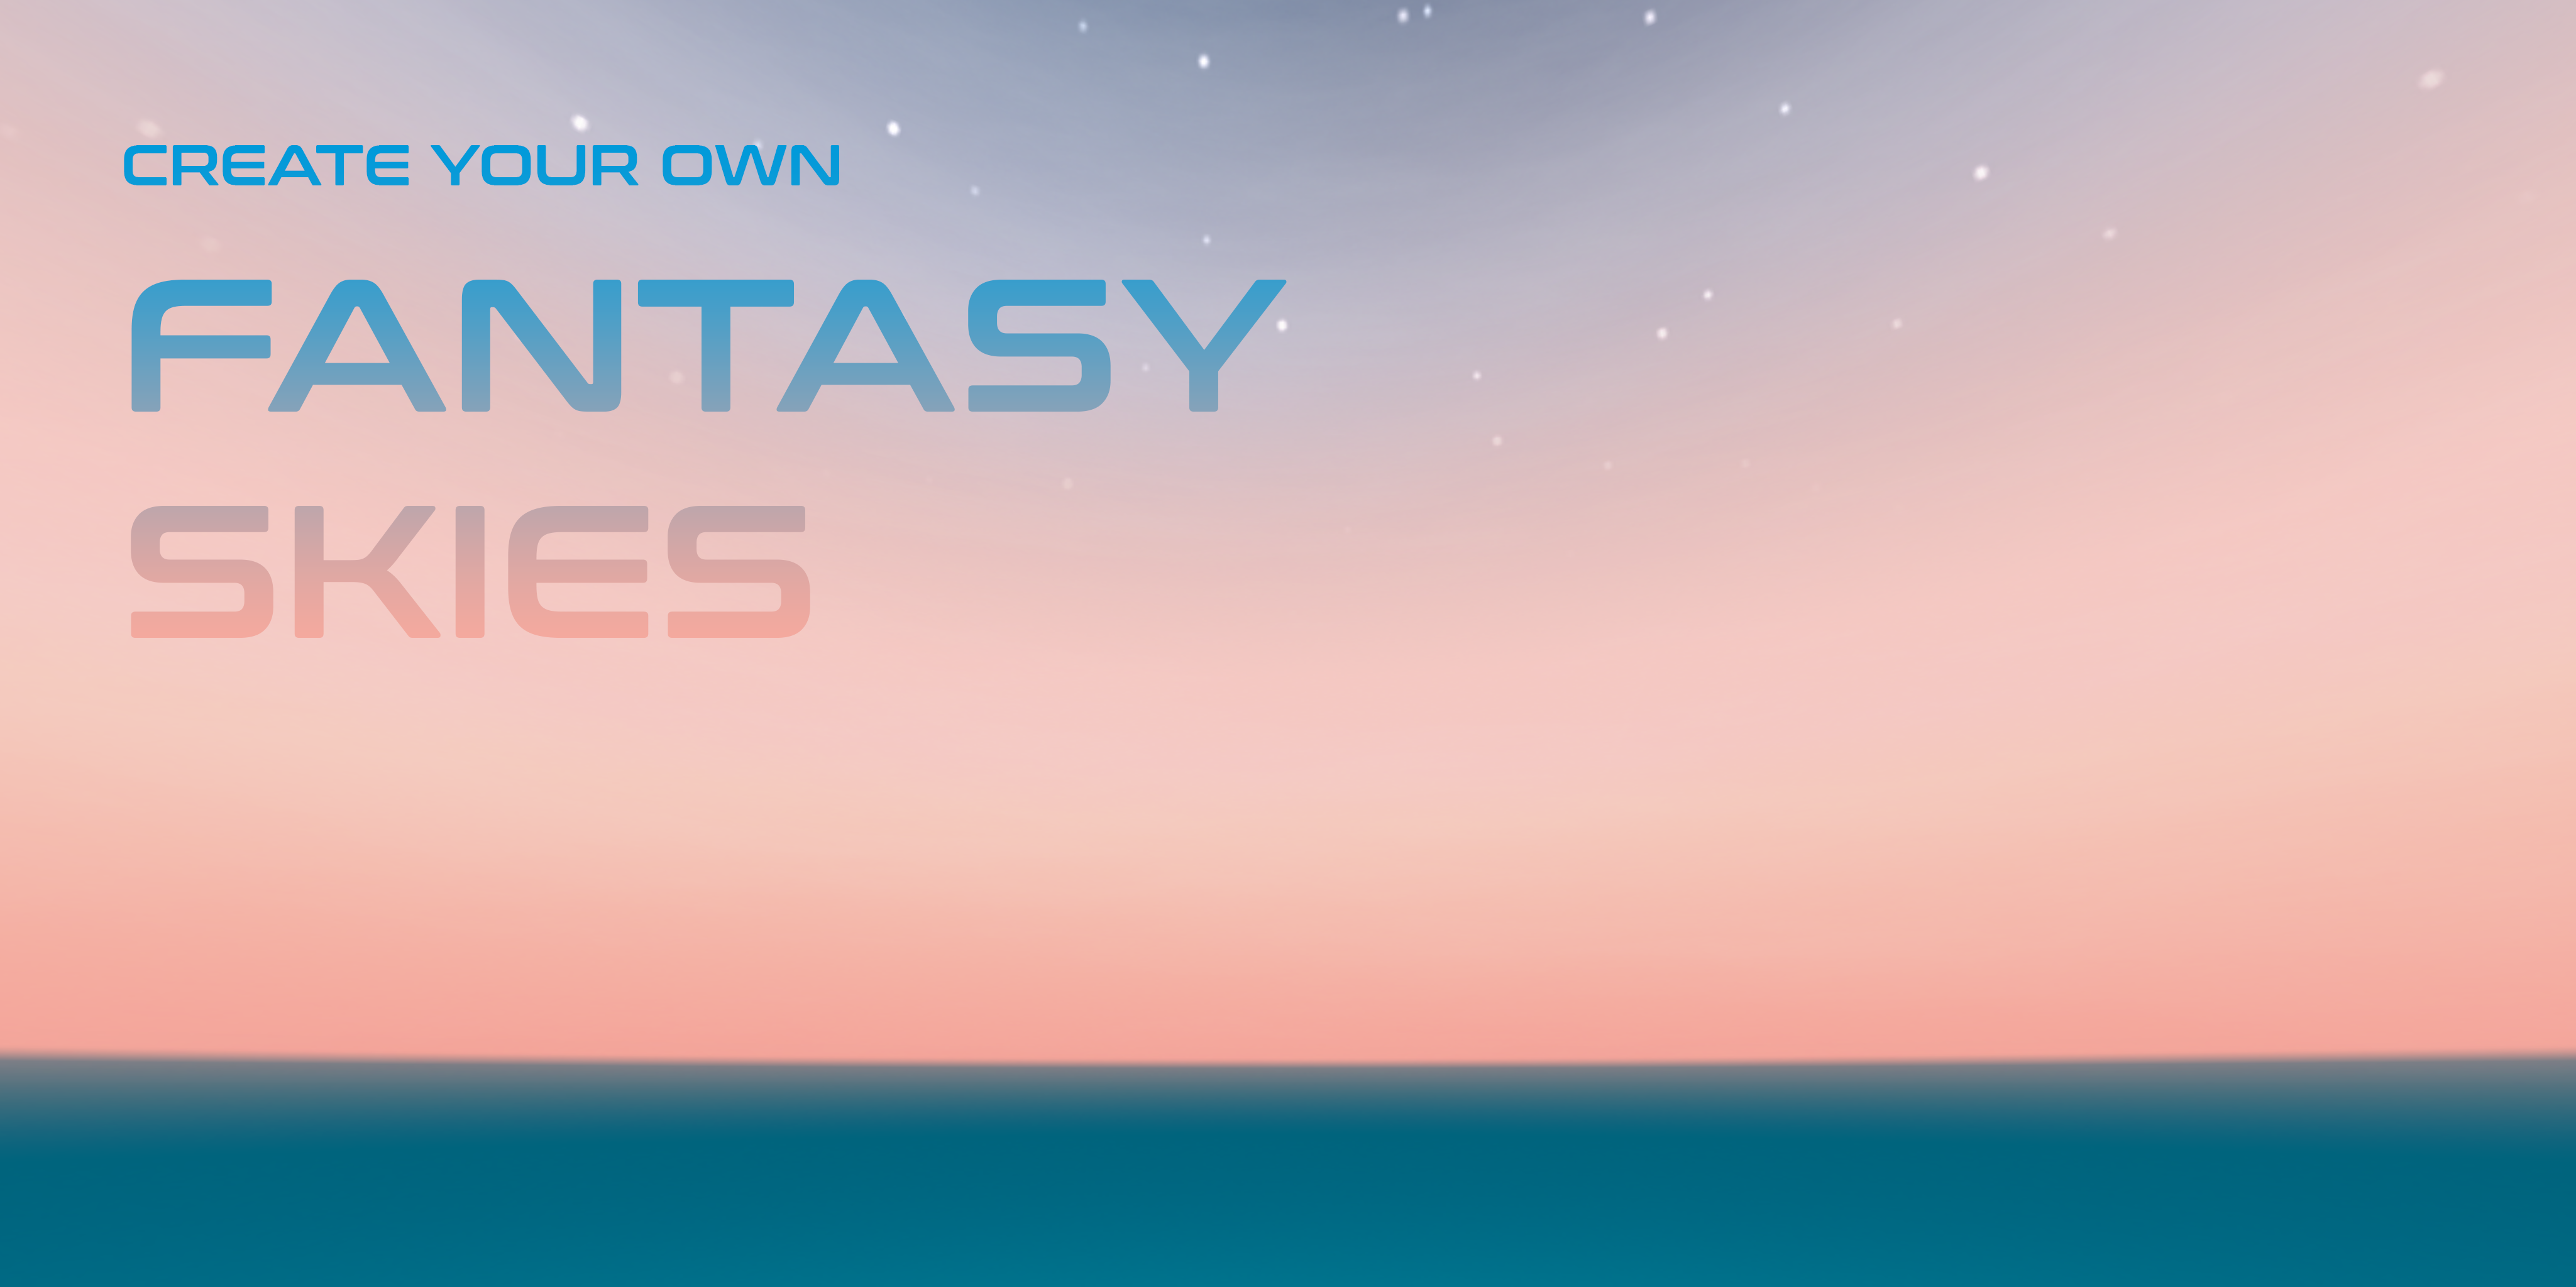
Creating a custom skybox for Unity in Photoshop
Creating a custom skybox in photoshop can be really quite easy using a few handy shortcuts. This tutorial will walk you through the steps using Adobe Photoshop CC and Unity 2020.2.
In order to create a skybox, we need to start with an equirectangular panorama image. An equirectangular panorama consists of a single rectangular image whose width and height correlate as 2:1 (twice as long as it is high). For this image choosing the dimensions 4096 x 2048 which are dimension to the power of two which are commonly seen in computing and computer graphics (16, 32, 64, 128 etc.). Having one of the dimension of the image at 4096 puts it in the 4K range for the entire skybox which is a decent resolution for a starting point, the image outputs can be scaled down within Unity if needed.
IN PHOTOSHOP
- In Photoshop, create a new file 4096px wide x 2048px high at 72 dpi.
- Select the gradient tool and choose the gradient called Chrome.
- Hold Shift and click + drag to draw the gradient from the top edge of the document to the bottom.
- To adjust gradient colors click on the gradient in the toolbar.
- Once satisfied with your gradient colors redraw the gradient as in step 3.
- Create a new layer above your gradient layer.
- Hold shift and click each layer to select the gradient layer (Layer 1) and your new layer (Layer 2).
- Select 3D > Spherical Panorama > New Panorama Layer From Selected Layer(s)
- Your viewport will change from a 2D viewport to a 3D viewport.
- Using the move tool, you can rotate around inside the sphere, clicking and holding and moving within the viewport will turn the 3D camera up and down or left and right.
- In the layers panel you will now see that your layers have been combined into a new 3D object - below the object are sublayers for Textures, Base Color and SphericalMap.
- Double click on spherical map and it will open the .PSB file. You'll see your two layers again. Make sure Layer 2 is selected, close the PSB file and return to the panorama.
- Use a brush to paint onto layer 2 add any details you want, clouds (stamp brushes work well for this) or stars etc.
- Use the move tool to rotate your camera angle as you paint to see how it looks from different angles.
- You can also paint directly onto the 2D layer or make other adjustments in the 2D plane by double clicking the SphericalMap sublayer to open its .PSB file.
- You can export your finished skybox by selecting 3D > SphericalPanorama > Export
- Save the file as a JPG to your desktop or other location.
IN UNITY
- Copy the image file into your Unity project Assets folder.
- Select the image in the project folder and view its details in the inspector.
- Under Texture Shape select Cube from the drop-down.
- Press Apply. The icon for your image will change in the project window to resemble a cube map.
- Right-click in the assets folder of the project window, select Create Material
- Name the material as desired.
- Select the material in the project window to view its details in the Inspector.
- From the Shader drop-down brose to Skybox > Cubemap
- Click the Select button within the Cubemap (HDR)
- Select the image you prepared in steps 3-5.
- From the main menu select Window > Rendering > Lighting
- Select the Environment tab
- Click the target icon next Skybox Material.
- Browse to and select your newly created Material.
- Close the Environment window to preview your skybox.