

The Joy of Not Hating Mondays
I recently took the leap and switched from full-time to part-time hours, only working four days a week from Tuesday to Friday. I definately have to give kudos to my employer for being flexible enough to accommodate my needs.
With more free time on my hands, I'll have the opportunity to dive into my hobbies, spend quality time with loved ones, and explore new adventures.
Making this change may have its challenges. Still, the reward of having the autonomy to make choices that align with my personal values and goals and the space to tap into my creativity make it more than worth it.
So I embrace this journey towards a more fulfilling work-life balance and say goodbye to dreaded Monday mornings. The future is bright, and the days ahead are filled with endless possibilities.

Imagining the Azath House Tremorlor with Midjourney AI
Some art started popping up in one of the Facebook groups I follow a few weeks ago. The first one I saw, I said wow, that's really cool. Then more and more from the same poster. As a painting or digital art, I know each render would have taken dozens of hours to produce.
I started to wonder how he was doing it. Was it the same 3D assets rearranged and rendered with good post work? I followed the comments in a few images, and eventually, someone mentioned the images were created with MJAI. A short google search later, and I was signing up for the MidJourney Beta and joining their discord server.
So what is MidJourney? MidJourney is an app (currently hosted through discord) that connects a chatbot to an AI they have taught to create fantastic art based on text prompts that you craft. The only limit is your imagination. They offer 25 image renders as a demo; after that, you can upgrade to a Basic or Standard membership.
Prompts have a bit of a learning curve and a variable element of randomness. Still, if applied effectively, they can create unique works of art.
I have been playing with the tool and getting comfortable with the various prompt options you can use to collaborate with the AI to generate images for you.
I decided to put my imagination to one of my favourite series Steven Erikson's Malazan world -- and see what I could create.
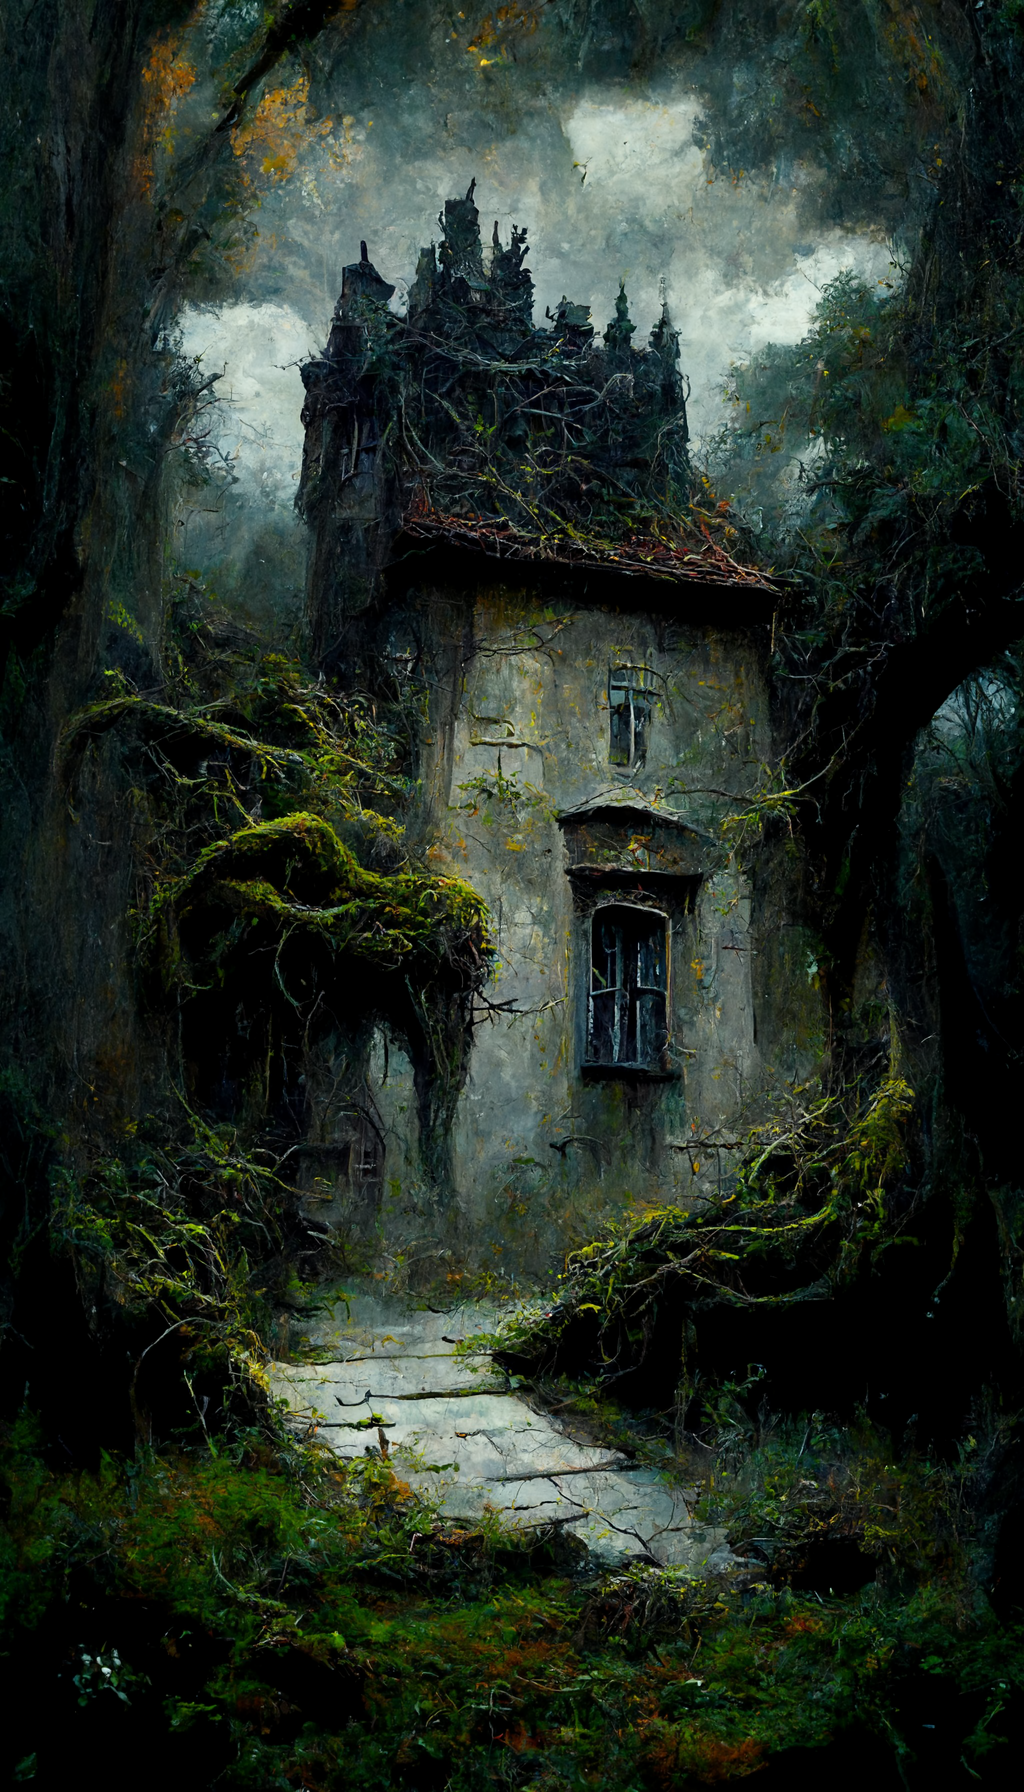
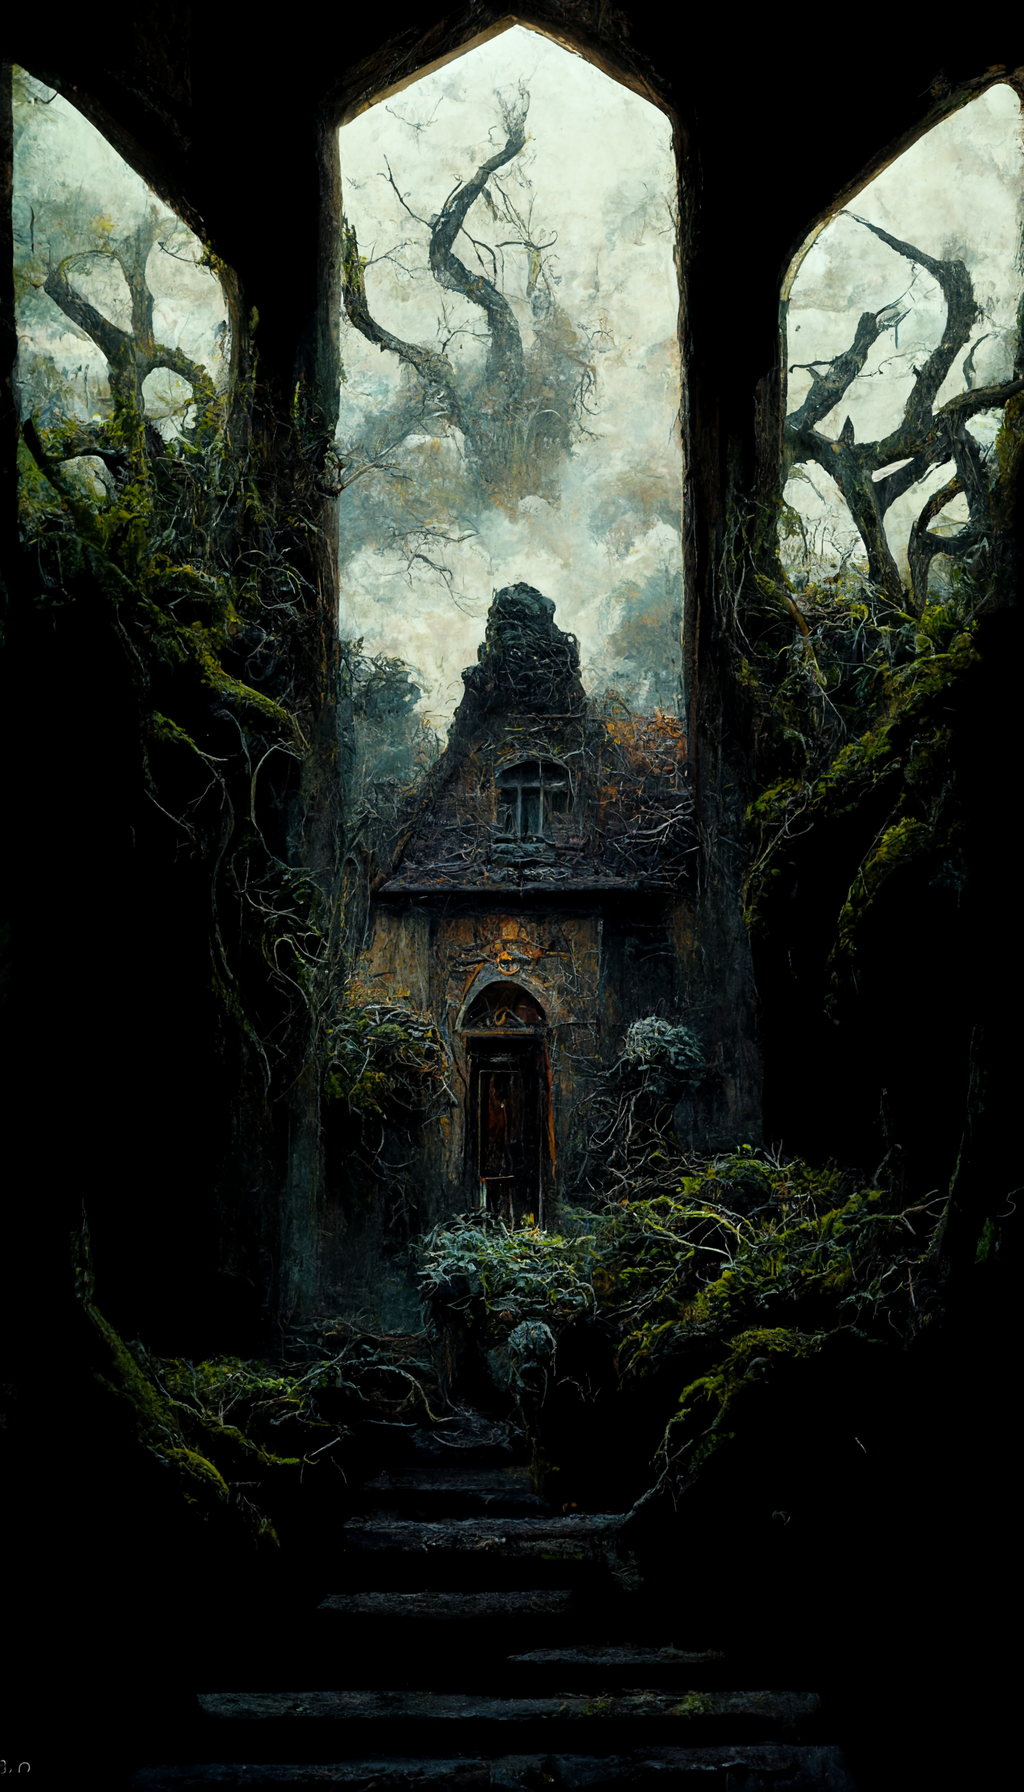
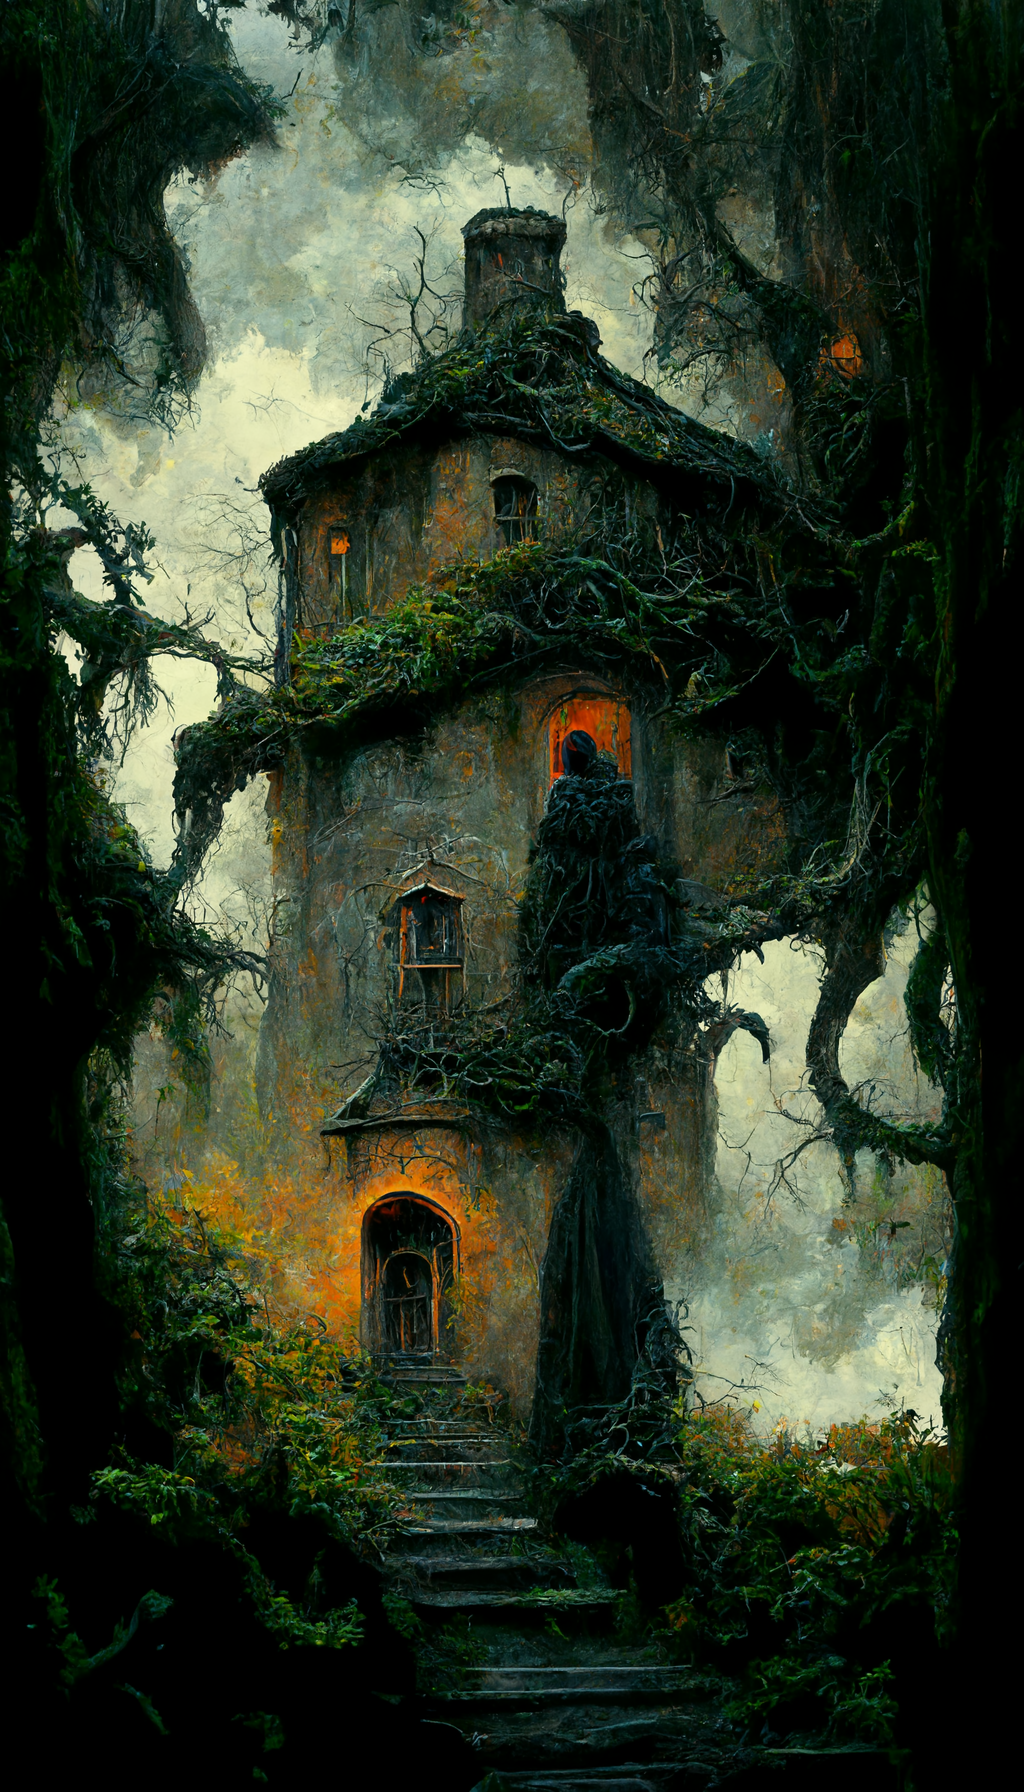
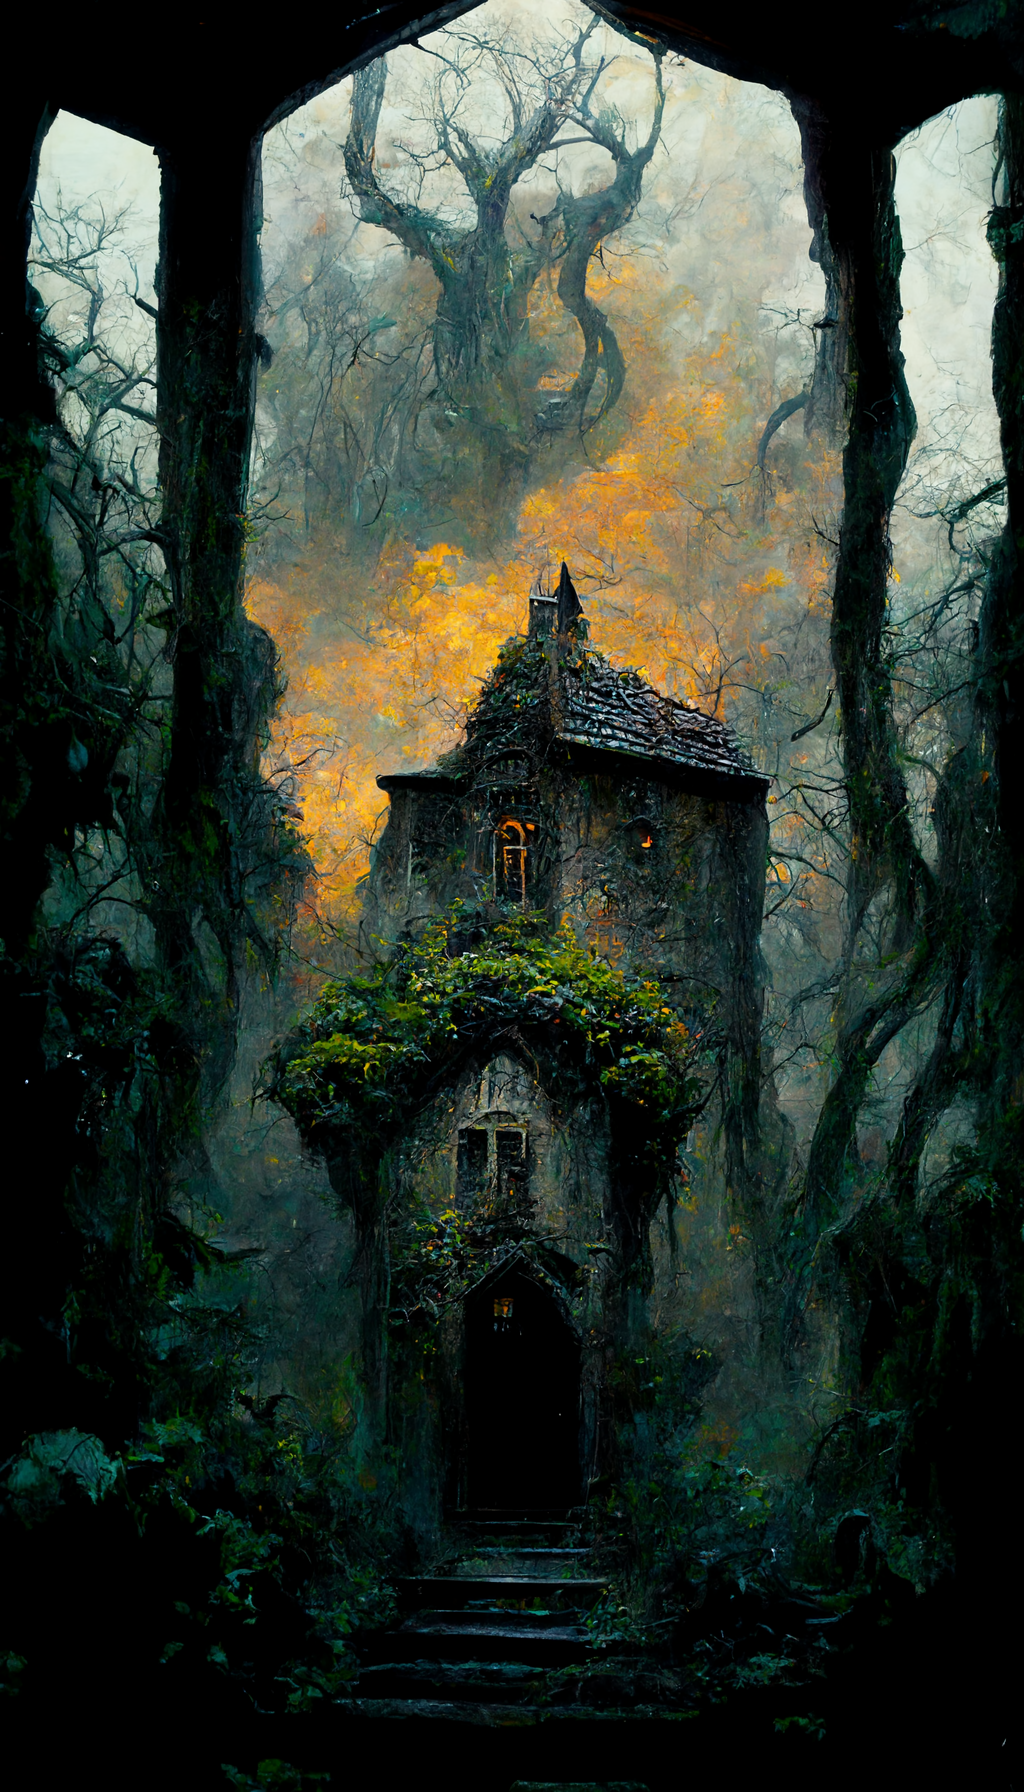
I spent most of my evening trying prompt description variations to create the Azath House Tremorlor. Here are a few of my favourite renders. I've included the prompts in the captions.
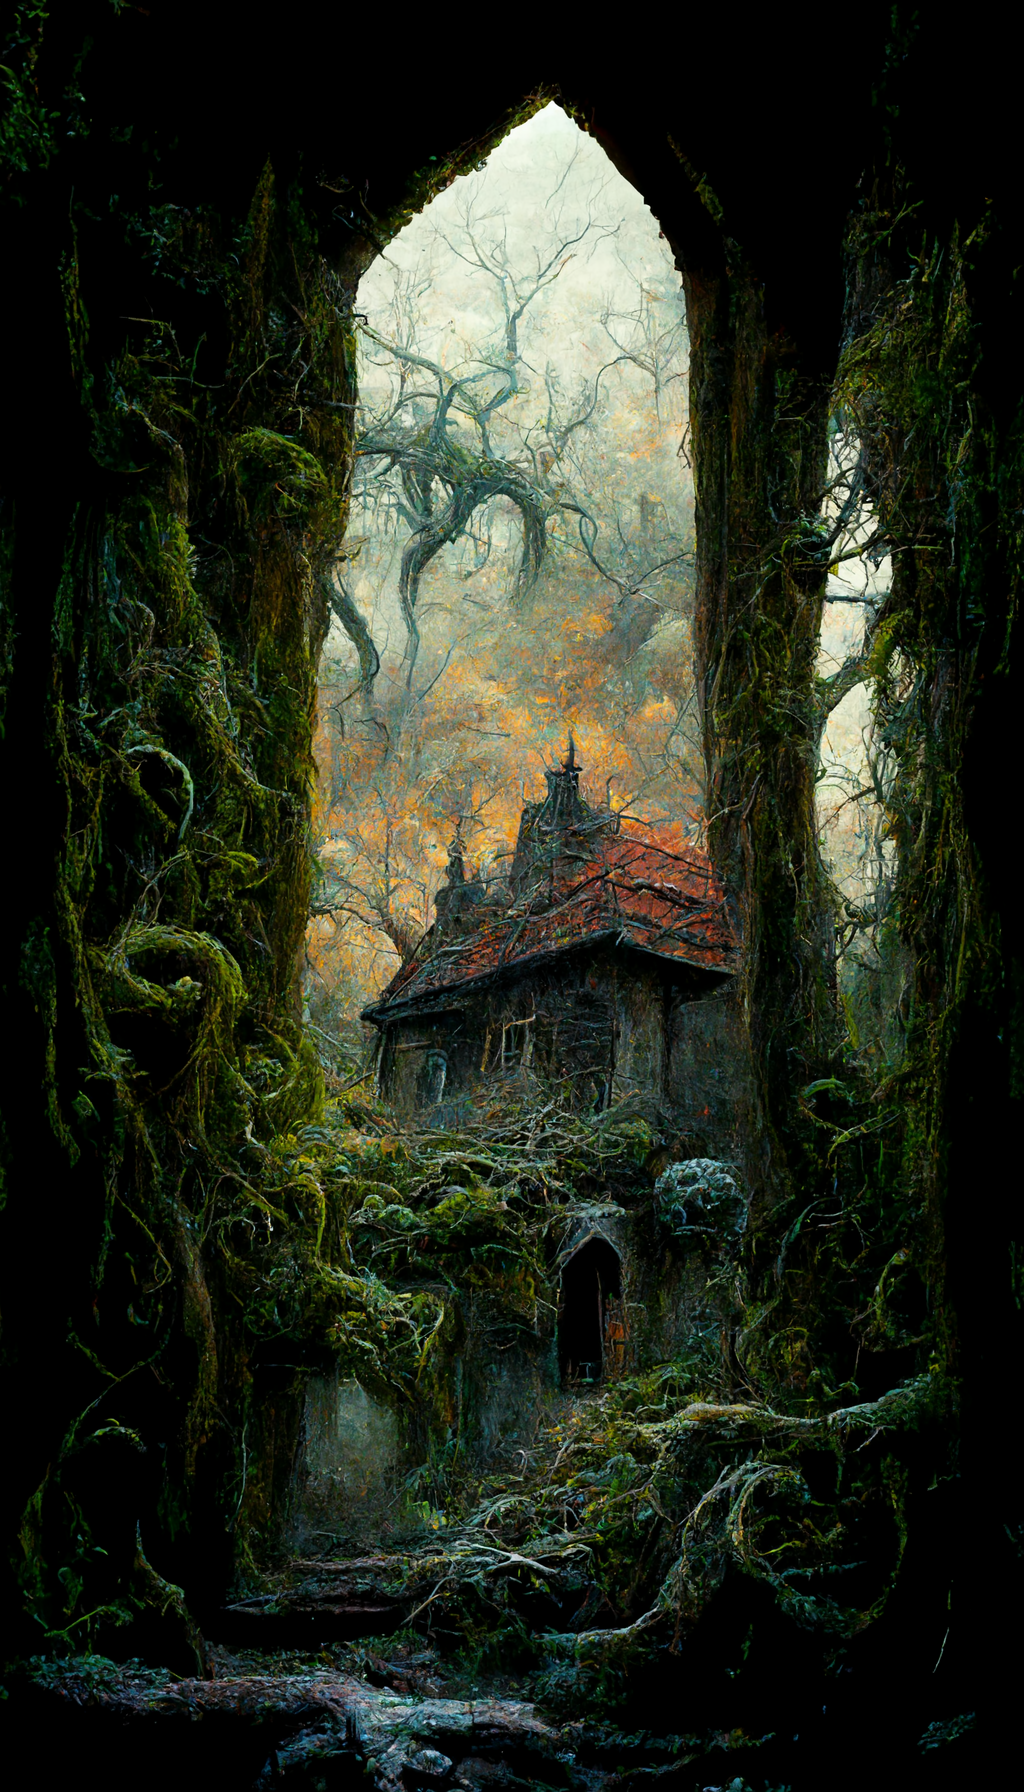
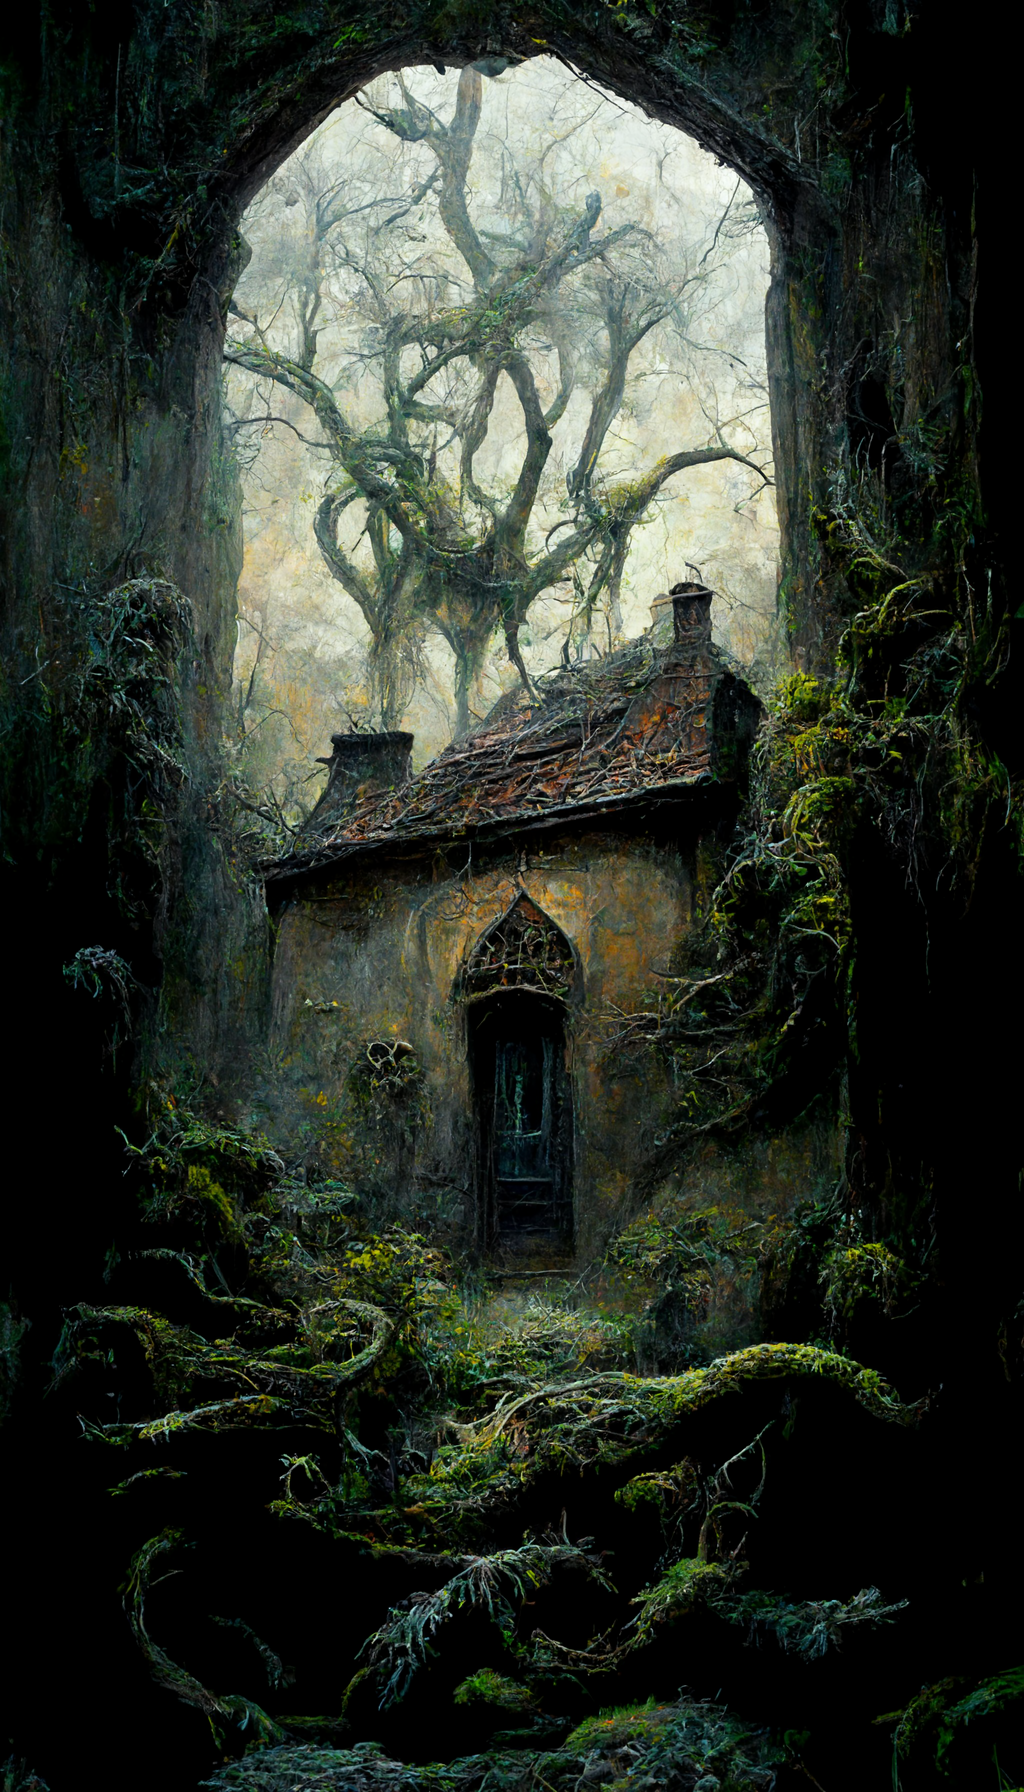
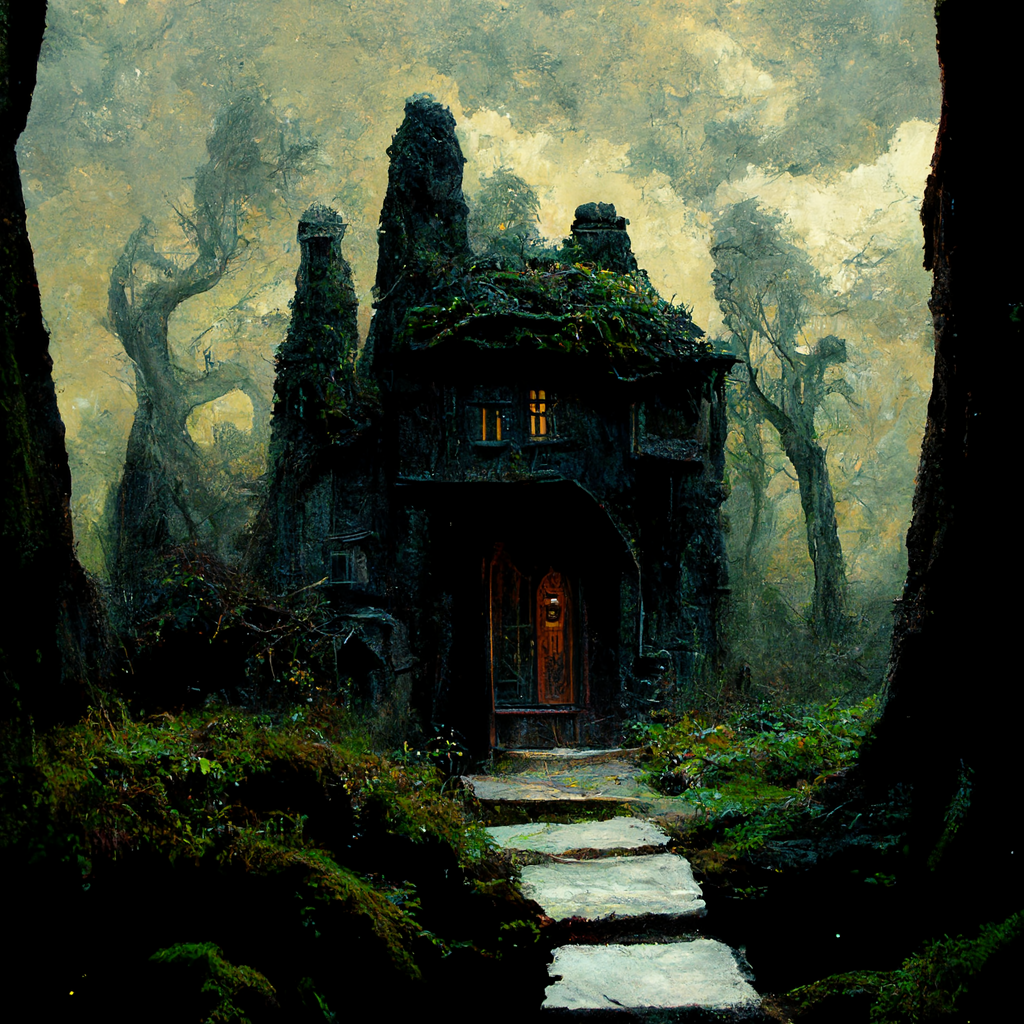
Sometimes when you give MidJourney creative freedom it does unexpected wonderful things.
I would definitely say my need to continue working with MidJourney verges on addiction. It's only been two weeks and I can't imagine my life without it. True love.
Learn more at MidJourney.com
Read Steven Erikson
Happy creating!
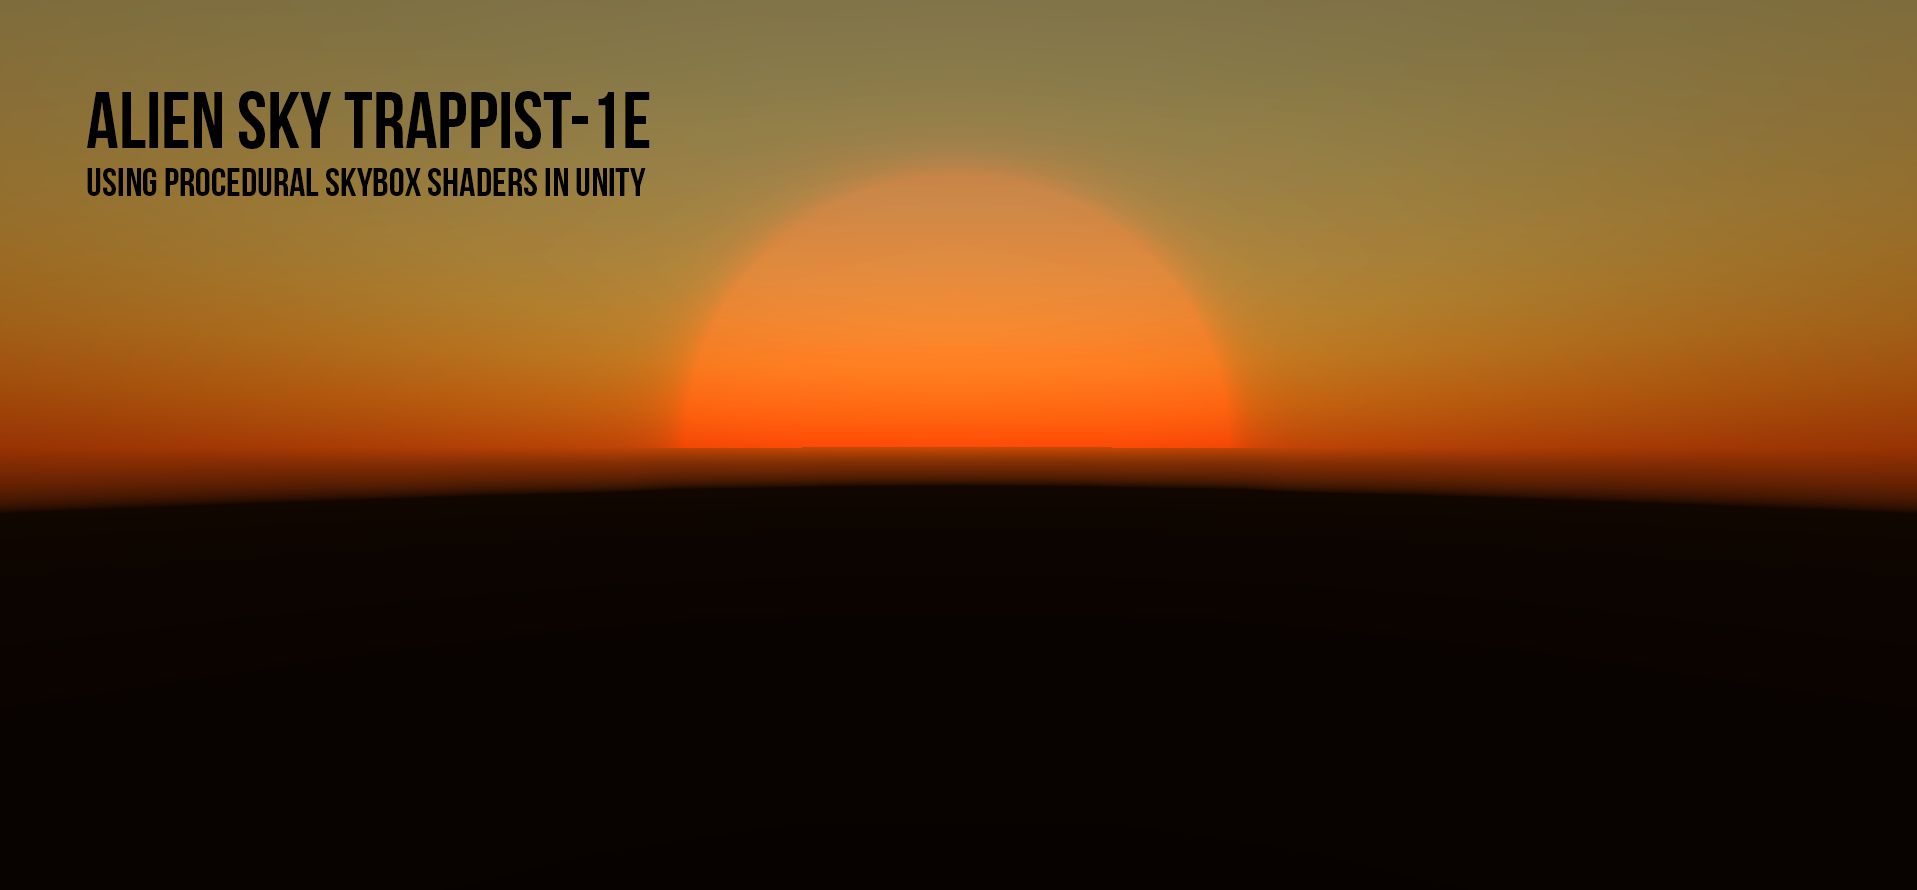
Creating a procedural skybox material in Unity for TRAPPIST-1E
I've been doing some world-building lately for a drama/horror/science-fiction story I've been working on and have been researching habitable worlds. One planet that has caught my attention recently is TRAPPIST-1e.
This planet is fascinating because it is both in the goldilocks zone for its star (TRAPPIST 1) and tidally locked. So, like our moon, one side is perpetually facing the sun while the other is the other side is dark. I thought these conditions would make for an exciting lighting environment within Unity to help me visualize life on TRAPPIST-1e.
The notes below are summarized from this excellent article: Alien Skies: The View from TRAPPIST-1e.
TRAPPIST 1 is much cooler than our sun, but also much closer. With the right atmosphere the result could be temperatures that could sustain life. However, due to frequent solar flares, the bright side would be too hot depending on the atmosphere, so life is more likely to occur in the twilight zone at the terminus between the light and dark sides of the planet.
TRAPPIST-1 lacks blue light in its spectrum and appears only about 0.5% as bright as our sun does on earth - this would cause the sky to have a yellow or possibly greenish-yellow appearance. The atmosphere would reflect light that appears bright reddish-orange against a very dark yellowish sky.
TRAPPIST-1 would appear on the horizon as a perpetual setting sun with a deeper red colour than it would typically have when viewed high in the sky.
CREATE YOUR MATERIAL
- Right-click in your project window and select Create > Material
- Name the file e.g. Alien Skybox
UPDATE THE MATERIAL SHADER
- Select the material in the project window to view its properties.
- In the Shader drop-down select Skybox > Procedural
SELECT YOUR PROPERTIES
Tip: Adjust your camera in your scene so you can see the sun.
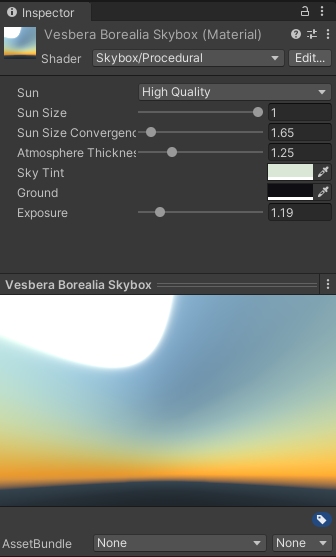
- The properties for the material updates in the Inspector window.
- Sun: You can switch between high quality and simple or none. High Quality is larger and has more of a halo effect. For my project I selected High Quality.
- Sun size adjusts the size of your sun it ranges between 0 and 1. TRAPPIST-1 would appear about 8 times larger than our sun in the TRAPPIST-1E Sky so I've set to sun size to 1.
- Sun size convergence also allows you to adjust the size of your sun. I adjusted mine to 1.65.
- The atmosphere thickness impact the hazy color at the horizon line. I still wanted to see the outline of the sun (for now) so have mine adjusted to 1.25.
- You can adjust the tint. A applied a very light green tint (#DAE7D7) to the sky to achieve the yellow green look of the sky. This took a lot of experimentation with different ranges of color to achieve what I was looking for.
- For the ground I have left it dark as I intend to add a terrain to the scene.
- Exposure increases the brightness of the scene. I have adjusted it a bit - this world will be fairly dark but I'll make adjustments as we start to add assets to the scene.
ADJUSTING THE SUN POSITION
The position of the sun in the skybox is based on the rotation of the directional light its attached to. If you are unsure which light it is attached to or no light is set you can find that information by checking Window > Rendering > Lighting Settings).
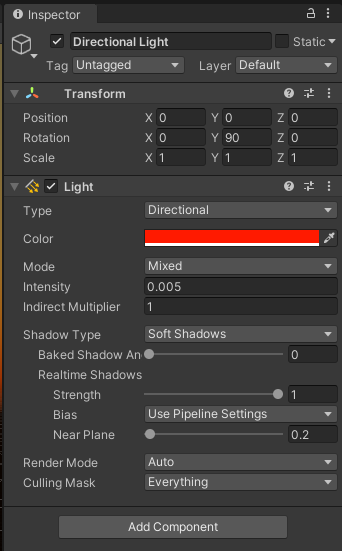
I made the following adjustments to the directional light in our scene.
- I set the rotation Y to 90. If facing North, this would put the sun setting in the west (or players left) horizon (TRAPPIST-1 would appear on the horizon as a perpetual setting sun).
- I changed the color to bright red, this may impact our scene later, but it seems to do the most to change the atmosphere color to red. (The atmosphere would reflect light that appears bright reddish-orange against a very dark yellowish sky).
- I left the Mode to mixed as I'll likely be using both Bake and Realtime lighting.
- I changed the intensity to 0.005. (The star appears only about 0.5% as bright as our sun does on earth [1 x 0.5%=0.005]).
As it is a very dark primitive planet. Those living near the terminus would also be able to see the stars. Next I'll be looking at create my own procedural skybox shader using Shader Graph so I'll be looking up to the heavens for more inspiration soon.
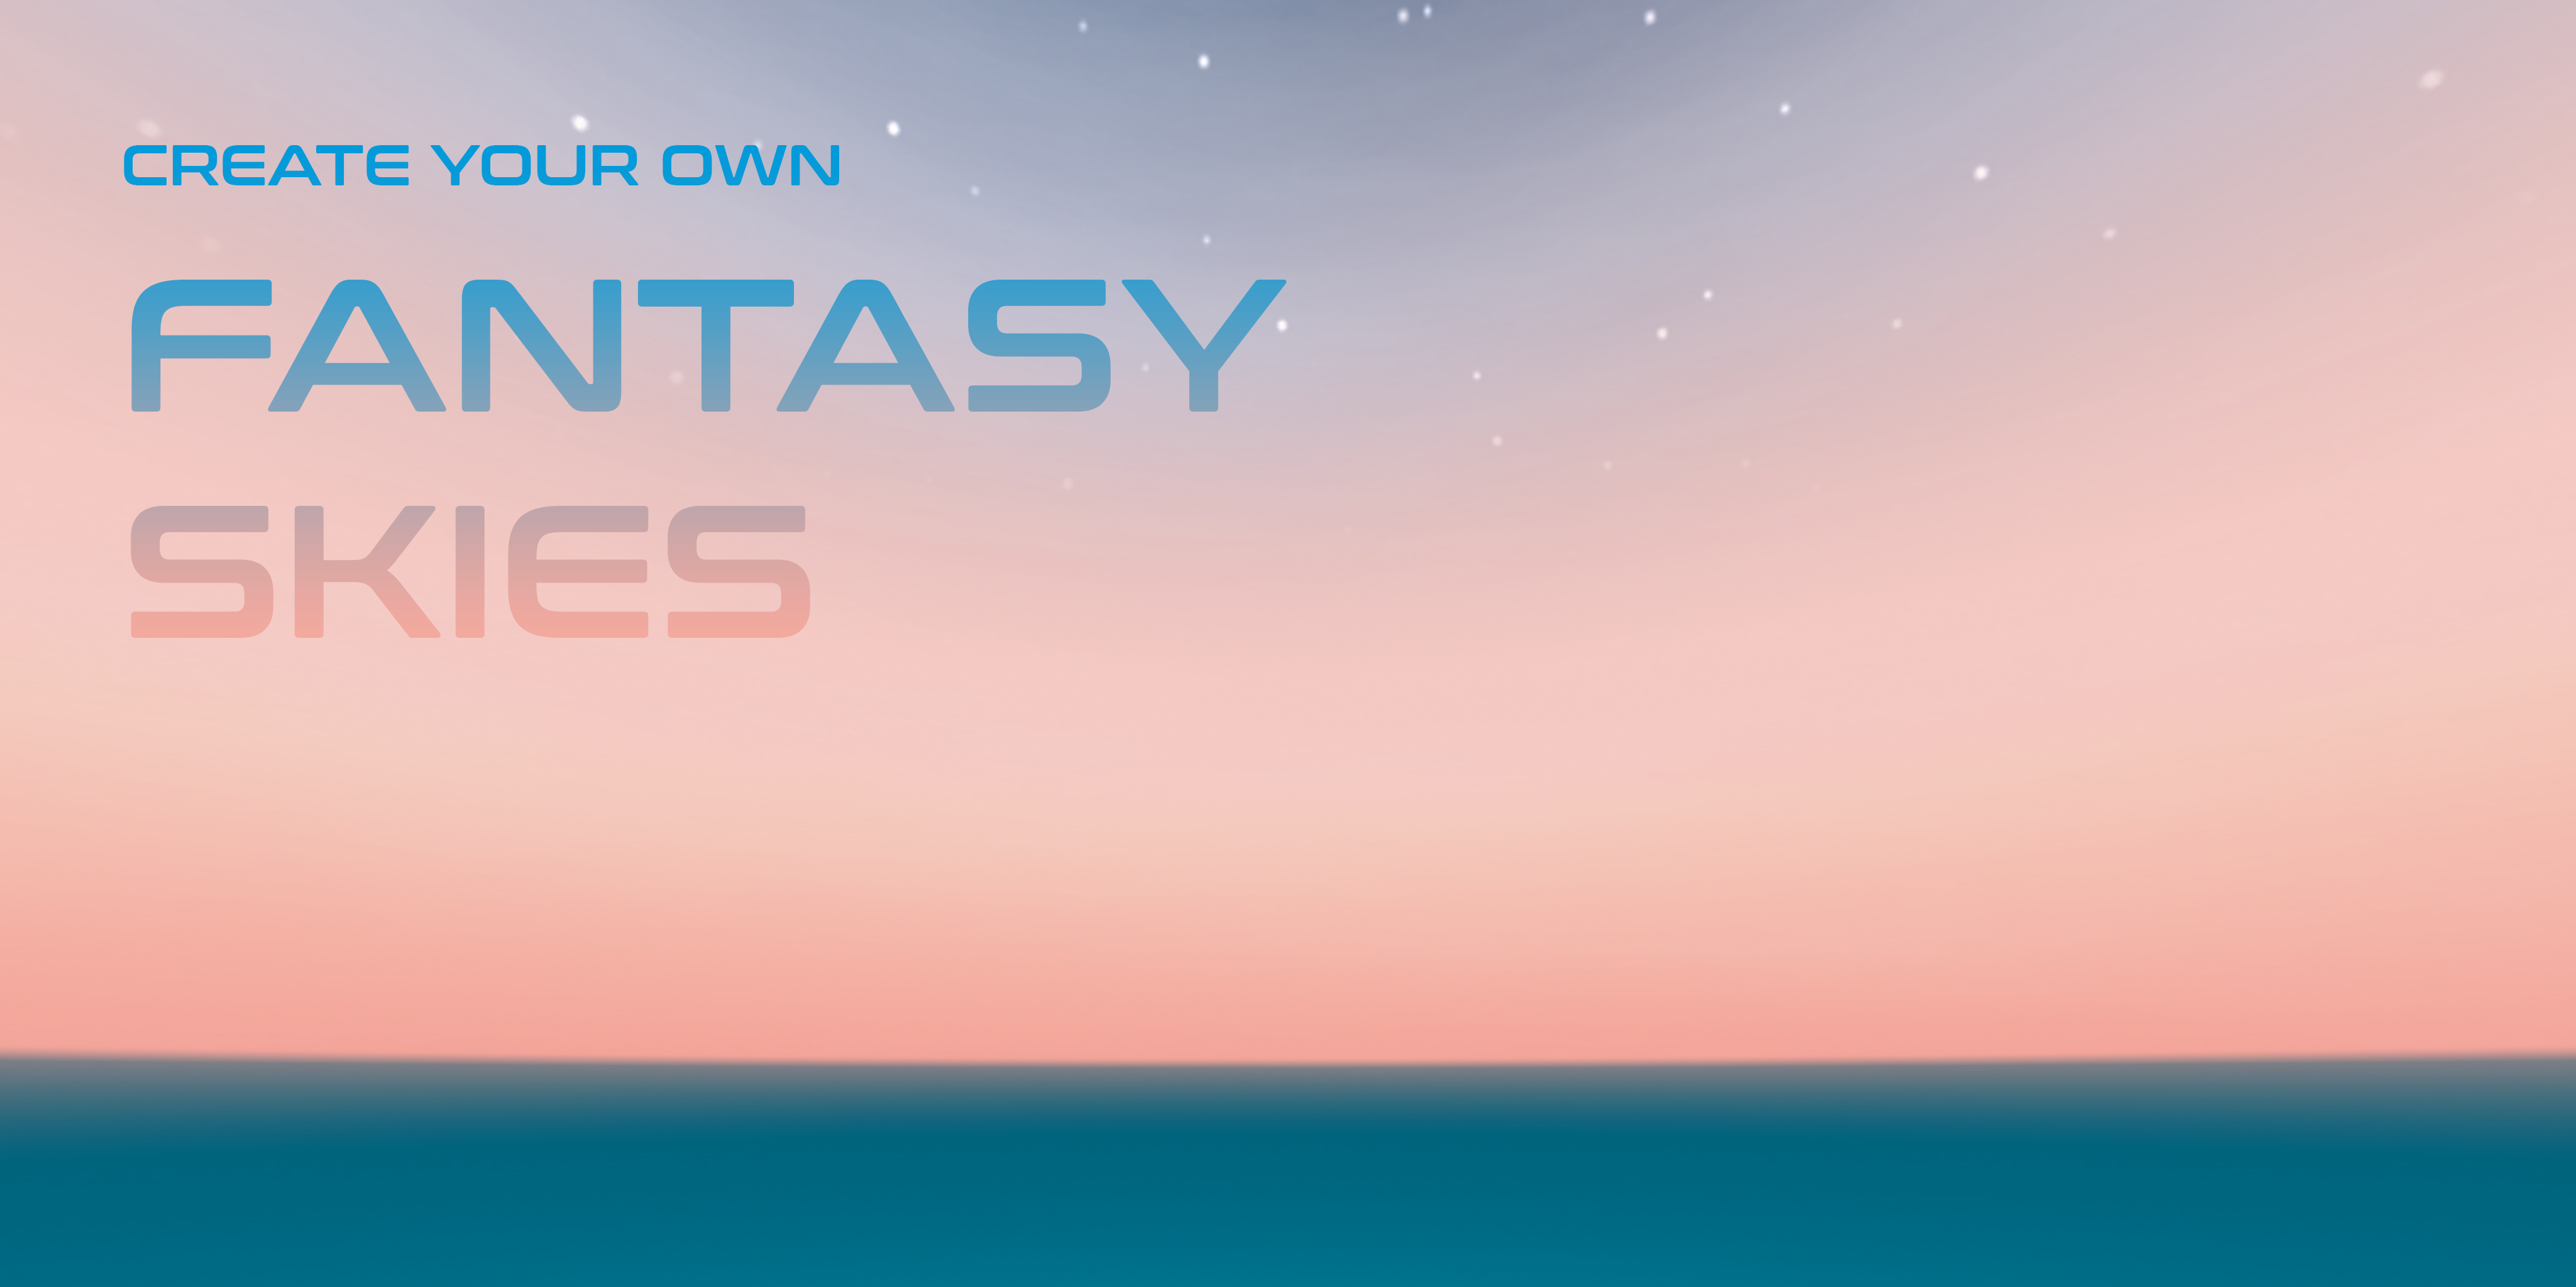
Creating a custom skybox for Unity in Photoshop
Creating a custom skybox in photoshop can be really quite easy using a few handy shortcuts. This tutorial will walk you through the steps using Adobe Photoshop CC and Unity 2020.2.
In order to create a skybox, we need to start with an equirectangular panorama image. An equirectangular panorama consists of a single rectangular image whose width and height correlate as 2:1 (twice as long as it is high). For this image choosing the dimensions 4096 x 2048 which are dimension to the power of two which are commonly seen in computing and computer graphics (16, 32, 64, 128 etc.). Having one of the dimension of the image at 4096 puts it in the 4K range for the entire skybox which is a decent resolution for a starting point, the image outputs can be scaled down within Unity if needed.
IN PHOTOSHOP
- In Photoshop, create a new file 4096px wide x 2048px high at 72 dpi.
- Select the gradient tool and choose the gradient called Chrome.
- Hold Shift and click + drag to draw the gradient from the top edge of the document to the bottom.
- To adjust gradient colors click on the gradient in the toolbar.
- Once satisfied with your gradient colors redraw the gradient as in step 3.
- Create a new layer above your gradient layer.
- Hold shift and click each layer to select the gradient layer (Layer 1) and your new layer (Layer 2).
- Select 3D > Spherical Panorama > New Panorama Layer From Selected Layer(s)
- Your viewport will change from a 2D viewport to a 3D viewport.
- Using the move tool, you can rotate around inside the sphere, clicking and holding and moving within the viewport will turn the 3D camera up and down or left and right.
- In the layers panel you will now see that your layers have been combined into a new 3D object - below the object are sublayers for Textures, Base Color and SphericalMap.
- Double click on spherical map and it will open the .PSB file. You'll see your two layers again. Make sure Layer 2 is selected, close the PSB file and return to the panorama.
- Use a brush to paint onto layer 2 add any details you want, clouds (stamp brushes work well for this) or stars etc.
- Use the move tool to rotate your camera angle as you paint to see how it looks from different angles.
- You can also paint directly onto the 2D layer or make other adjustments in the 2D plane by double clicking the SphericalMap sublayer to open its .PSB file.
- You can export your finished skybox by selecting 3D > SphericalPanorama > Export
- Save the file as a JPG to your desktop or other location.
IN UNITY
- Copy the image file into your Unity project Assets folder.
- Select the image in the project folder and view its details in the inspector.
- Under Texture Shape select Cube from the drop-down.
- Press Apply. The icon for your image will change in the project window to resemble a cube map.
- Right-click in the assets folder of the project window, select Create Material
- Name the material as desired.
- Select the material in the project window to view its details in the Inspector.
- From the Shader drop-down brose to Skybox > Cubemap
- Click the Select button within the Cubemap (HDR)
- Select the image you prepared in steps 3-5.
- From the main menu select Window > Rendering > Lighting
- Select the Environment tab
- Click the target icon next Skybox Material.
- Browse to and select your newly created Material.
- Close the Environment window to preview your skybox.